


After a minor collision, promptly assess and address Tesla bumper sensor damage, crucial for safety systems. Choose professional repair over DIY to ensure precise calibration, use of specialized tools, and genuine parts, maintaining vehicle safety features and resale value. This guide offers a detailed process for replacement, emphasizing proper alignment for optimal performance, and recommends professional help for precision repairs.
Tesla owners often face the dilemma of bumper sensor damage after minor collisions. This concise guide addresses the common issue of Tesla bumper sensor repair, offering a comprehensive overview for both DIY enthusiasts and those considering professional help. Understanding the type of damage is crucial, as is knowing when to opt for a replacement. This article provides a step-by-step guide to ensure an effective and efficient Tesla bumper sensor repair process.
- Understanding Tesla Bumper Sensor Damage After Minor Collisions
- DIY vs Professional Repair: Evaluating Your Options
- Step-by-Step Guide to Effective Tesla Bumper Sensor Replacement
Understanding Tesla Bumper Sensor Damage After Minor Collisions
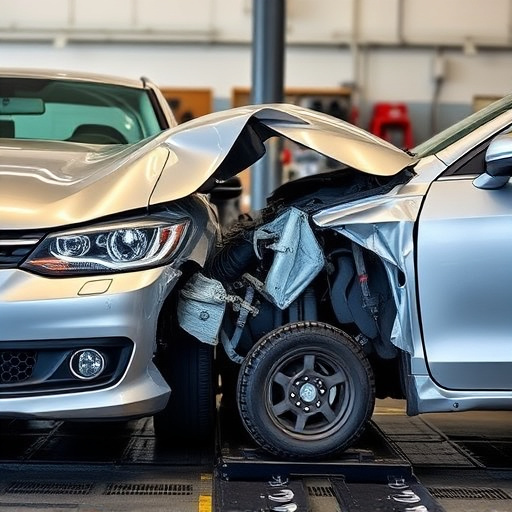
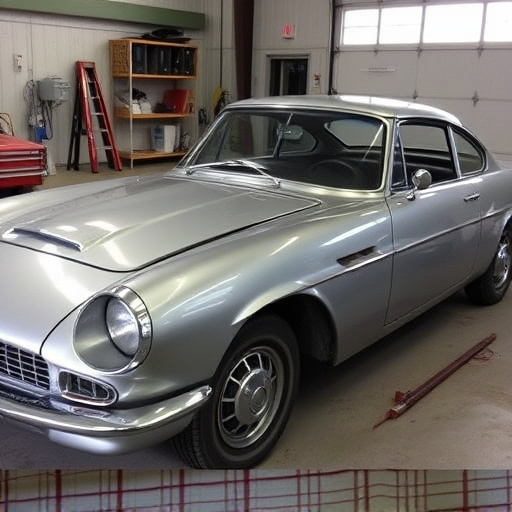
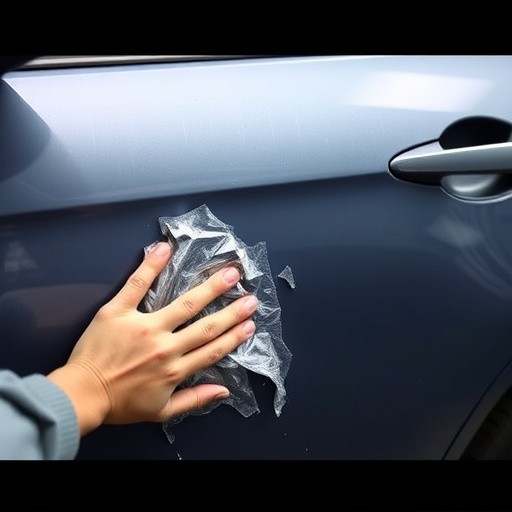
After a minor collision, it’s crucial to understand the extent of Tesla bumper sensor damage. While these vehicles are known for their advanced technology, including self-driving capabilities, the impact of even a small crash can affect the integrity of the bumper sensors. These sensors play a vital role in the car’s safety systems, so any damage should be thoroughly inspected and addressed promptly.
In many cases, Tesla bumper sensor repair involves replacing the affected components rather than fixing them. This is because sensors are intricate devices that require precise calibration for optimal performance. Collision damage repair specialists skilled in handling electric vehicles can assess and perform these repairs effectively, ensuring the car’s safety features remain reliable. Visiting a reputable auto body shop offering collision repair services is essential to guarantee high-quality Tesla bumper sensor repair.
DIY vs Professional Repair: Evaluating Your Options
When considering Tesla bumper sensor repair after a minor collision, one of the first decisions to make is whether to handle it yourself (DIY) or seek professional help. For those inclined and confident in their automotive skills, DIY repair can be an attractive option. It offers cost-effectiveness and the satisfaction of fixing your vehicle yourself. Online resources and tutorials are readily available for Tesla bumper sensor replacement, making the process seemingly straightforward. However, DIY repairs might not be suitable for everyone, especially if you lack experience or the necessary tools.
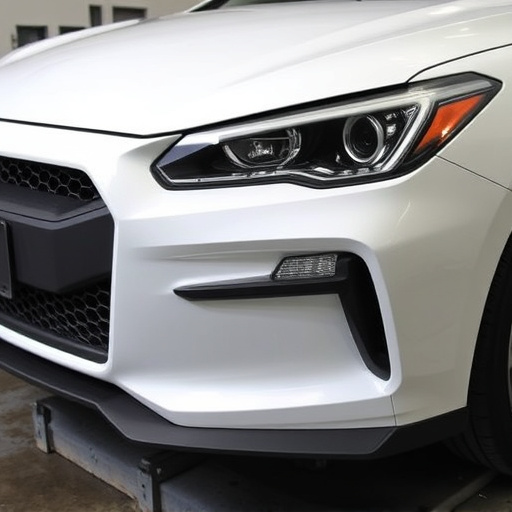
Professional automotive body work has its advantages too. Collision centers with experienced technicians offer precision and expertise in handling such delicate repairs. They have access to specialized equipment and genuine replacement parts, ensuring a quality fix that matches your Tesla’s original standards. While this might come at a higher cost, it guarantees peace of mind and excellent craftsmanship. Considering the impact on your vehicle’s safety features and overall value, consulting a reputable collision center or tire service for Tesla bumper sensor repair is a wise decision, especially after minor collisions.
Step-by-Step Guide to Effective Tesla Bumper Sensor Replacement
Step-by-Step Guide to Effective Tesla Bumper Sensor Replacement
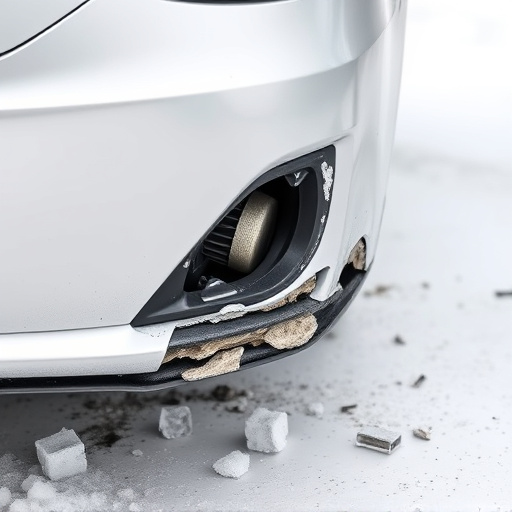
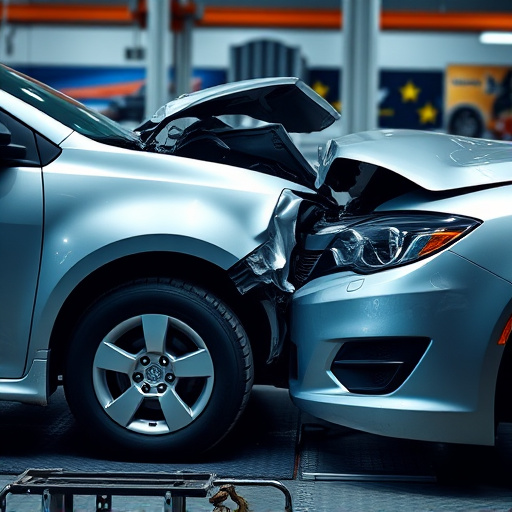
The first step in repairing your Tesla bumper sensor after a minor collision is to assess the damage. Inspect the sensor for any visible cracks or breaks. If the damage is minimal, you can proceed with replacement. Gather all necessary tools, including a new Tesla bumper sensor, screws, and any other hardware specific to your model. Before beginning, ensure proper ventilation in your work area as some components may emit strong odors upon removal.
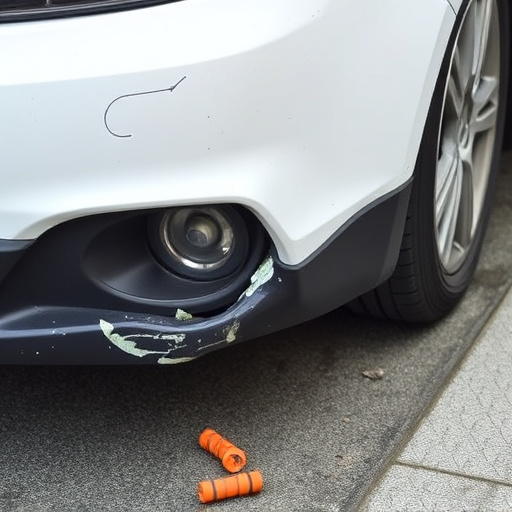
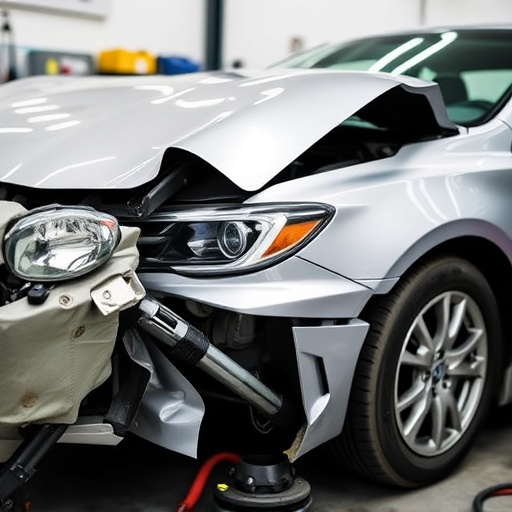
Next, locate the sensor under the bumper. This often involves removing trim pieces and plastic covers. Once exposed, carefully disconnect the sensor from its wiring harness using a small tool or tweezers. Remove any retaining clips or screws securing the old sensor in place. Clean the area to ensure no debris remains. Install the new sensor by aligning it precisely with the mounting holes and securing it with fresh screws. Double-check all connections before reattaching any covers or trim pieces. For those considering DIY repairs, proper alignment is crucial for optimal sensor performance. Alternatively, visiting a reliable vehicle body shop for both auto glass replacement and Tesla bumper sensor repair can ensure precision and longevity.
After minor collisions, it’s common for Tesla bumper sensors to sustain damage. Understanding the extent of this damage and knowing your repair options is crucial. While DIY repairs can be tempting for cost-savings, professional services ensure accurate, efficient Tesla bumper sensor replacement, extending your vehicle’s protection and maintaining its safety features. With a straightforward step-by-step guide, you’re equipped to make an informed decision, whether choosing DIY or a specialist, for optimal Tesla bumper sensor repair.