

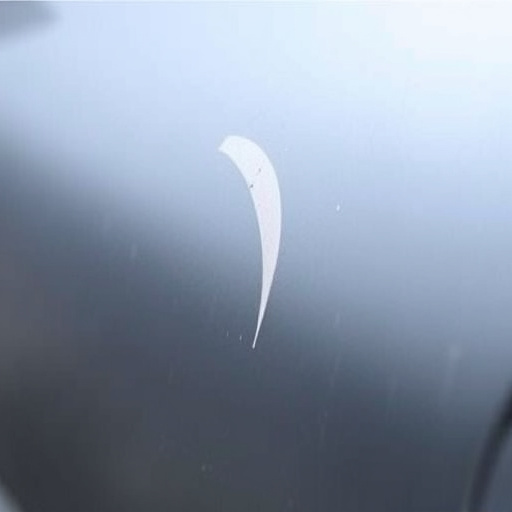
Regular cleaning and inspection are crucial for maintaining Tesla bumper sensors' functionality. Common issues include debris accumulation, corrosion, and damage from bumps. Early identification allows for DIY repairs using basic tools or professional Tesla bumper sensor repair services, preventing extensive car damage. The DIY process involves removing the damaged sensor, cleaning the area, installing a new sensor, securing it with hardware, and double-checking connections.
Looking to fix your Tesla’s bumper sensor? You’ve come to the right place. This comprehensive guide offers DIY tips and essential warnings for repairing Tesla bumper sensors yourself. We’ll break down common issues, the tools and materials needed, and provide a detailed step-by-step process to ensure a successful repair. By following these instructions, you can save time and money while keeping your Tesla in top shape.
- Understanding Tesla Bumper Sensor Issues
- Tools and Materials for Repair
- Step-by-Step Guide to Fixing Sensors
Understanding Tesla Bumper Sensor Issues
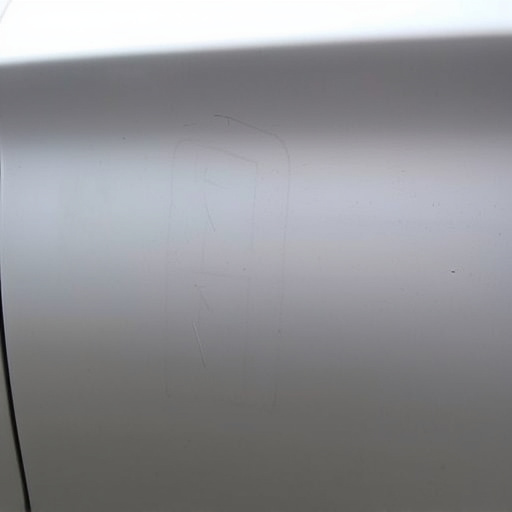
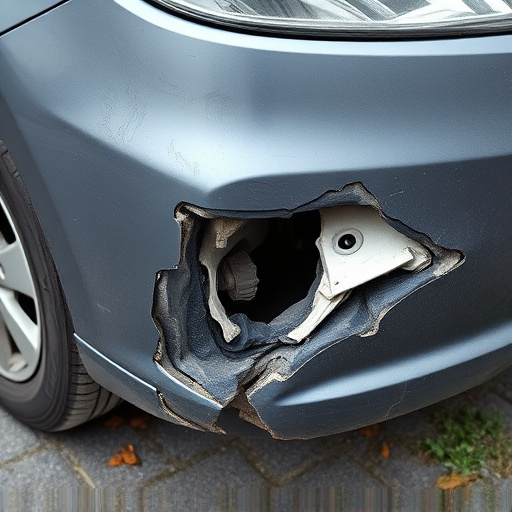
Tesla bumper sensors are a critical safety feature designed to detect obstacles and help prevent collisions. However, like any component, they can develop issues over time, leading to concerns about their functionality. Understanding common Tesla bumper sensor problems is the first step in effective DIY repair or knowing when to seek professional bumper repair services.
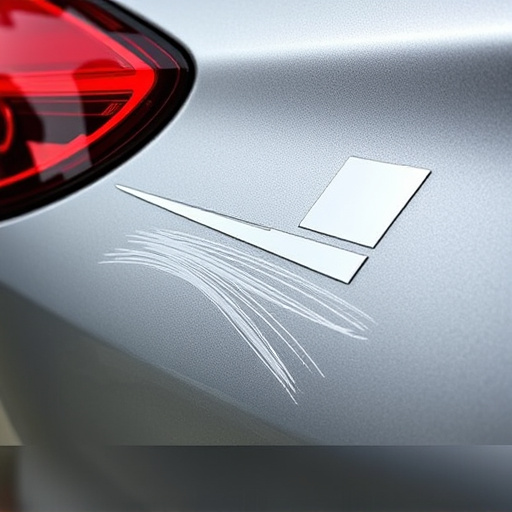
Some typical issues include sensor malfunction due to debris accumulation, corrosion from exposure to the elements, and damage from minor collisions or bumps. Recognizing these problem areas allows owners to take proactive measures for car damage repair. Regular cleaning and inspection can help maintain optimal sensor performance, while being aware of potential red flags encourages timely intervention to avoid more serious collision repair services down the line.
Tools and Materials for Repair
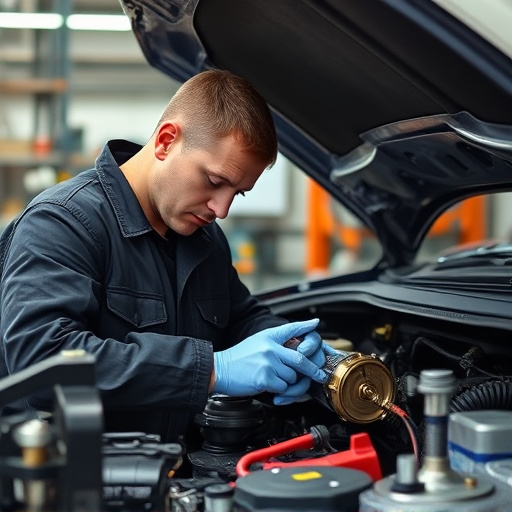
When it comes to repairing your Tesla bumper sensor, having the right tools and materials is crucial for a successful DIY project. You’ll need basic automotive tools such as wrenches, screwdrivers (both flathead and Phillips), pliers, and a set of tweezers. These will help you disassemble and replace any damaged or faulty components inside the sensor housing. Additionally, consider having a good quality multimeter to test for power and continuity, ensuring that the sensor is functioning correctly after your repairs.
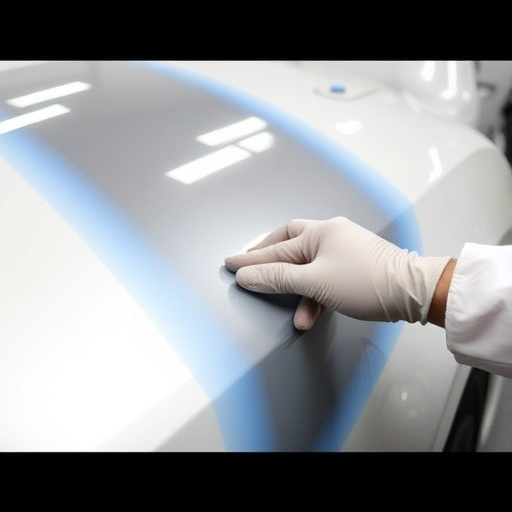
For the actual repair process, you’ll require specific materials like replacement sensors (if needed), electrical tape, heat shrink tubing, and possibly some car paint services if there’s any visible damage or scratches on the bumper itself. Vehicle restoration techniques might also come into play if the sensor housing needs to be cleaned or refinished to achieve a seamless fit. Remember, while DIY repairs can save you costs, it’s essential to approach this task with care and an understanding of electrical systems to avoid any potential risks associated with Tesla bumper sensor repair.
Step-by-Step Guide to Fixing Sensors

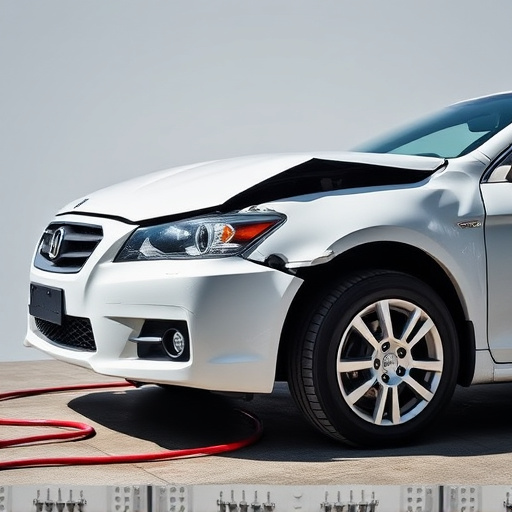
Fixing Tesla bumper sensors is a straightforward process that can be completed with the right tools and a step-by-step approach. First, locate the damaged sensor on your car’s bumper. These sensors are typically designed for impact detection, so they’re usually located at the front and rear of the vehicle. Once identified, use a specialized tool or even a small screwdriver to gently pry off the old, damaged sensor. Be cautious not to bend or damage the surrounding parts.
Next, clean the area thoroughly to ensure there’s no debris or residue left from the previous sensor. A quick wipe with a degreaser or alcohol can do the trick. After cleaning, install the new sensor by aligning its connectors with the corresponding ports and securing it in place using the provided hardware. Double-check all connections for any loose parts before closing up your car body restoration work. Remember, proper auto repair near me techniques are key to ensuring your Tesla’s safety features function optimally after this DIY project.
Repairing your Tesla’s bumper sensors yourself can save you time and money, especially if you’re facing frequent replacement costs. By understanding common issues, having the right tools and materials, and following a simple step-by-step guide, you can successfully navigate this DIY process. Remember, while it’s rewarding to take on car repairs, always be cautious when dealing with vehicle electronics to avoid any potential safety hazards. With these tips in hand, you’re well-equipped to tackle your Tesla bumper sensor repair head-on.